Add/Edit/Delete Rule
Overview
- This feature lets users create, edit, and delete Network Access Rules to control traffic through the firewall.
Procedure
Step 1. On the Network Access Rule screen, click Add Rule.

Step 2. The system shows the Add Rule popup. Enter the rule details.
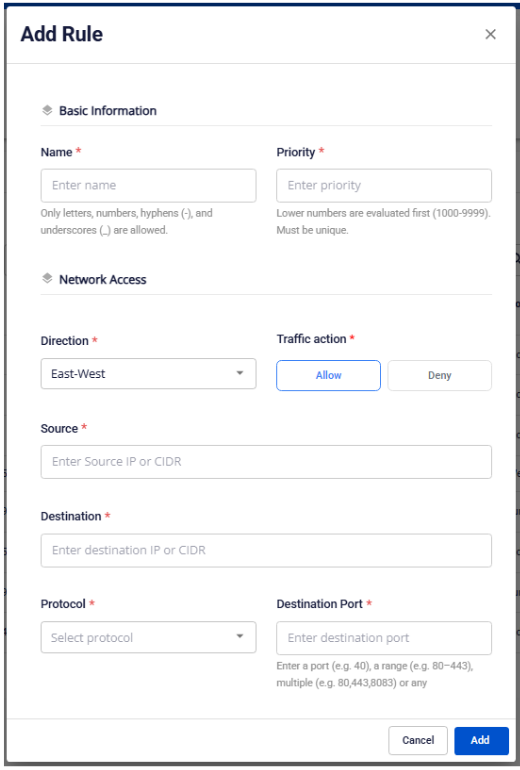
Rule fields
Basic Information
| Field | Description |
|---|---|
| Name | Rule name |
| Priority | Priority order (lower values are evaluated first) |
Network Access
| Field | Description |
|---|---|
| Direction | Traffic direction: Inbound (from the Internet) / Outbound (from internal to external) / East-West (internal to internal) |
| Traffic Action | Action: Allow / Deny |
| Source | Source IP/CIDR |
| Destination | Destination IP/CIDR |
| Destination Port | Port or port range the rule applies to |
| Protocol | Protocol: TCP / UDP / ICMP / All |
NAT (depends on Direction)
| Direction | Configuration |
|---|---|
| Outbound (SNAT) | Pick a Floating IP to NAT outbound traffic |
| Inbound (DNAT) | Translated Destination: internal IP receiving the traffic; Translated Port: internal port |
Step 3. Click Add to create the rule and check the result.
| Result | Description |
|---|---|
| Success | A notification is shown; the rule appears in the list with Status = Not Applied (Added) |
| Failure | A corresponding error message is shown |
Note: Rules take effect only after the user clicks Apply Policy.
After the rule is created, you can:
- Edit a rule by clicking Edit on the row.
- Delete a rule by clicking Delete on the row.
Edits and deletes also take effect only after Apply Policy.
Step 4. Click Apply Policy to apply your changes.
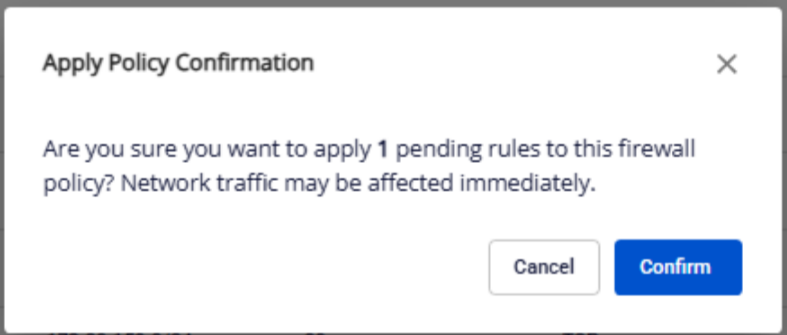
- Confirm to apply all newly added, edited, and deleted rules.
- After a successful apply, the affected rules show
Status = Applied.